The Complete Pre-Tour Checklist for a Double-Decker Sightseeing Bus
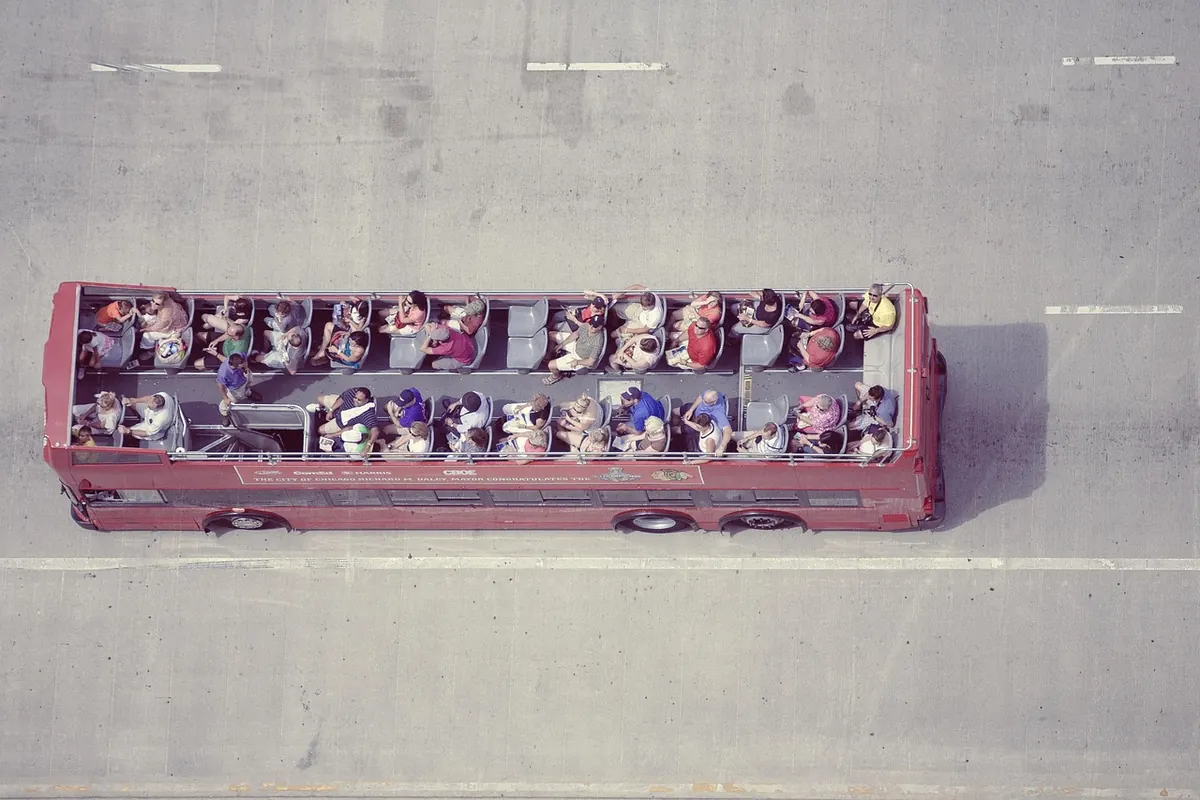
A double-decker sightseeing bus looks effortless from the pavement. You buy a ticket, climb the stairs, and let the city unfold around you. The trips that go wrong are rarely dramatic. They are the ones where the top deck is closed for wind, the family gets split across two buses, or someone spends forty minutes on the lower deck staring at the back of a seat because the front row filled up at the first stop. Fifteen minutes of preparation the night before solves almost all of it. Here is the checklist worth running through.
Tickets, Timings and Route Planning
Start with the ticket type, because it shapes the whole day. A hop-on hop-off pass rewards wandering: you ride a few stops, get off, walk, rejoin later. A single-loop ticket is cheaper and simpler but leaves no room for detours. If you are choosing between routes, pick the one that covers what you actually want to see rather than the longest one on the map.
Then find the two times that matter most: the first departure and the last full loop. That second one catches people out. Ticket validity often runs later than the final bus, and a pass that is valid until evening is not much use if the last full circuit leaves mid-afternoon.
- Book online where you can. Ticket queues at the main starting stop can be slow first thing.
- Keep the booking reference on two phones, not one.
- Check the operator's service updates on the morning of travel. Marathons, roadworks and parades reroute buses with little warning.
- Note whether commentary is live, recorded, or through an app you need to download in advance.
Let the Weather Choose Your Strategy
Wind matters more than rain on an open top deck. Once the bus is moving, you are sitting in a steady breeze, and that breeze takes several degrees off how warm the day feels. A bright, mild afternoon at street level can be genuinely cold thirty seconds into the ride. Rain is easier to handle: the operators usually close or part-cover the top deck when it turns heavy, and a thin poncho is far better than an umbrella, which blocks your neighbour's view and turns inside out in a gust.
Check the hourly forecast, not just the daily summary, and look at wind speed as well as temperature. If you have a health condition that heat or cold makes worse, speak to a medical professional before planning a long stretch on an exposed deck.
Dress in layers
A t-shirt, a jumper and a windproof outer layer covers almost every outcome. Add sunscreen and sunglasses even on a cloudy day, because you will be sitting still in direct light for an hour or more with no shade. Bring a hat that ties on or fits snugly; loose caps leave heads at the first roundabout.
Seating: Where to Sit and Why It Matters
Upper deck, front row
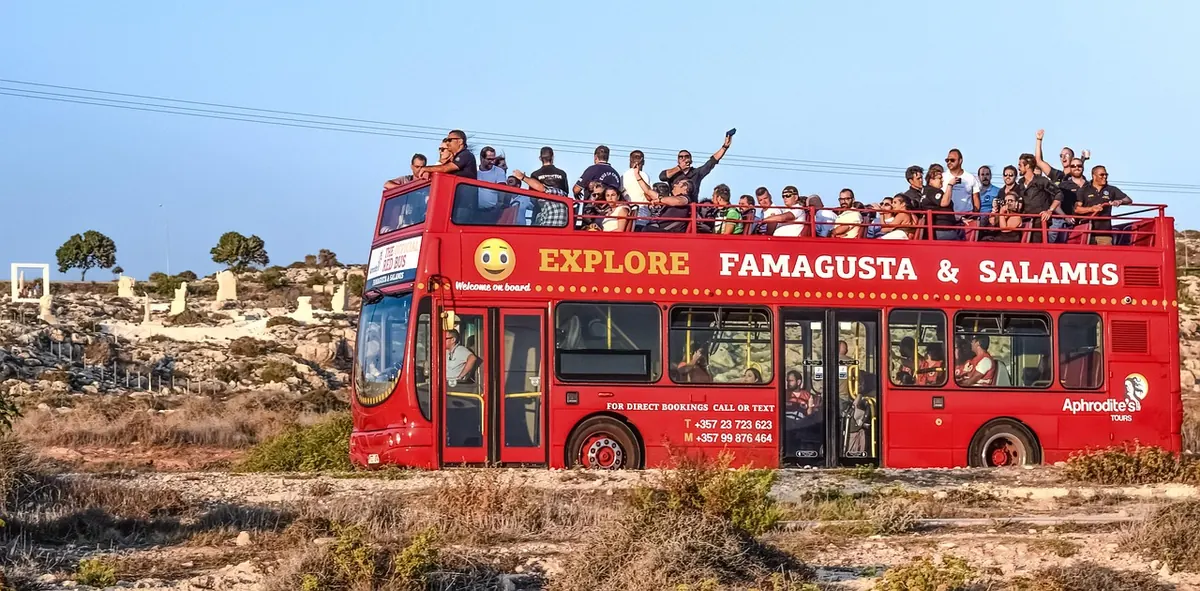
The classic choice, and worth the early arrival. Unobstructed forward views, the best angle for photographs, and children adore it. It is also the windiest, coldest and most exposed seat on the bus.
Upper deck, middle or rear
Slightly calmer, still excellent views, and often positioned under a canopy on buses that have one. A good compromise when the forecast is uncertain.
Lower deck
Better in rain, easier for anyone who finds stairs difficult, and usually where the accessible spaces are. You trade the panorama for comfort and a window seat.
Which side? Ask the driver or check the route map before boarding. On a loop that hugs a river, canal or coastline, the water side tends to be the rewarding one. On a city circuit, commentary usually highlights landmarks on one side, so sitting opposite means twisting around. On a circular route you will see both sides eventually, so a wrong guess is an inconvenience rather than a disaster.
Accessibility, Children and Comfort
Stairs on a double-decker are steep and narrow, and on older vehicles the first step is high. If knees, balance or stamina are a concern, take the lower deck without apology. Most operators reserve priority seating there for disabled passengers and a companion.
Two things are worth confirming directly with the operator rather than assuming:
- Wheelchair spaces. Not every bus in a fleet has one, and they are limited, so they usually need to be reserved when you book or by phone beforehand.
- Pushchairs. Most operators require them folded and stored on the lower deck, and some do not allow them upstairs at all. Carrying a folded buggy up those stairs is not realistic.
Children are usually welcome on the top deck, but some operators apply a height or age rule, and a small child on a lap in an open-top vehicle is a bad idea. If anyone in your group gets motion sickness, the steadiest seats are low down and near the middle of the bus, facing forward with a window for air. Also check whether the bus has a toilet; many do not, so use the facilities at your starting stop.
Rules vary widely between cities and operators, so read the operator's own information rather than a third-party summary.
What to Pack for the Top Deck
- Ticket or booking reference, on paper and on a charged phone
- A power bank, especially if commentary runs through an app
- Headphones, if you need them for recorded commentary
- A thin waterproof jacket or poncho
- Sunscreen and sunglasses
- A hat that stays put
- A water bottle and a snack; not all buses sell anything
- Tissues or wipes
- A small bag that sits on your lap, since there is no room for a rucksack upstairs
- A card or a little cash for a coffee at a hop-off stop
If you are prone to travel sickness, ask a pharmacist about suitable medication before the day rather than halfway through the route.
The Printable Checklist
Night before
- Confirm ticket type, date, and first and last departure times.
- Study the route map and pick two or three must-see stops, not ten.
- Check the hourly forecast, including wind, plus the operator's service notices.
- Call the operator about wheelchair spaces or other access needs.
- Charge phones and download the commentary app or offline route map.
- Lay out layers, hat, sunscreen and waterproof.
Morning of
- Recheck weather and service status.
- Arrive at the starting stop fifteen to twenty minutes early for the front row.
- Use a bathroom before boarding.
- Head straight upstairs and claim seats together.
- Photograph the route map and the last-bus time.
- Set a phone alarm for half an hour before that final departure.
A Few Last Words on Flexibility
Weather turns, routes divert, buses fill. Leave slack in the day and treat the checklist as a way to remove small annoyances rather than a script. If the front row matters to you, ride the loop twice: enjoy the first circuit, photograph the second. If the top deck closes, a lower-deck window seat with headphones is still a perfectly good tour. The point is to spend the day looking out, not sorting out problems you could have caught the night before.
Photo: İdil Ceren Çelikler / Pexels
You Might Also Like
Combine day passes, off-peak travel and short walks to turn a double-decker bus into an affordable all-day adventure, with practical tips for planning routes and timing.
Battery-electric double-deckers pair high-capacity bodies with electric drivetrains, and their range, charging and route planning decide whether they work for a given network.